Leave Your Message
Choosing the best Trekking Bag is less about finding the largest pack and more about matching it to your body, route, and load. A weekend walk through damp forest needs different capacity and access than a multi-day mountain trek. The right choice should carry essentials without pulling hard on your shoulders or shifting with every step. Fit matters most.
Backpacking author Chris Townsend has written extensively about practical equipment choices. His advice on selecting a pack can be paraphrased this way: “Choose for fit and purpose, not appearance alone.” Treat that as a useful principle, not a universal rule. Even a well-designed bag can feel wrong when its torso length or hip belt does not suit you.
This guide explains how to compare capacity, suspension, materials, pockets, and weather protection. You will learn why a loaded test matters more than a quick try-on in a shop. Place a sleeping bag and water bottle inside, adjust the straps, then walk a few steps. Notice pressure around your hips. Listen for fabric rubbing against your jacket. Small details become obvious on a long climb.
There is no perfect Trekking Bag for every trekker. I would not ignore comfort just to save a little weight, though that trade-off can be personal. A lighter pack may feel better on steep ground, but it can offer less support for heavier loads. Use the sections ahead to weigh those compromises and choose with care.
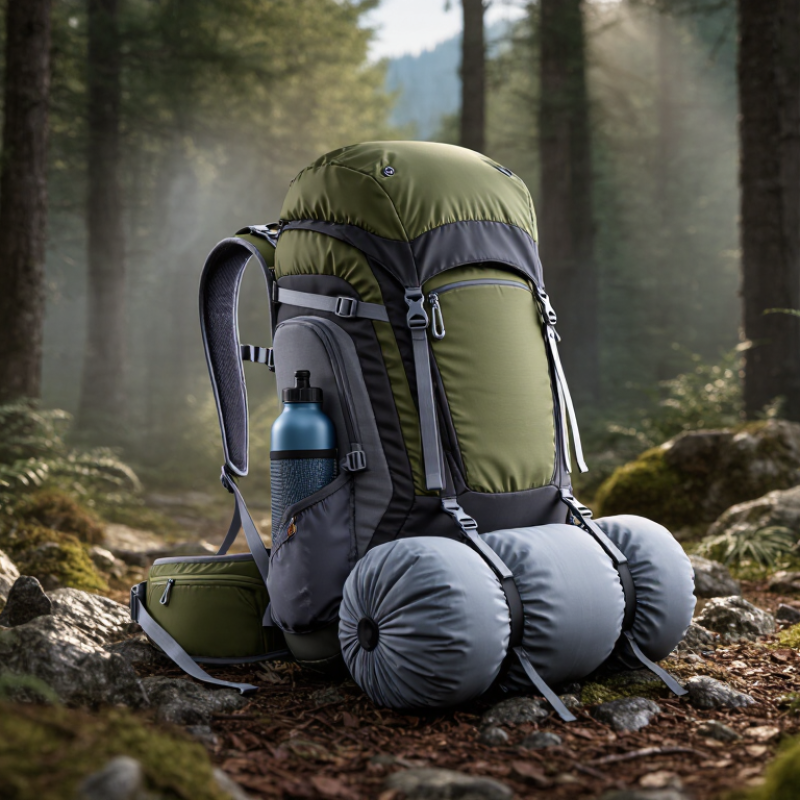
Choose a trekking bag for the trip you actually take, not the longest trip you imagine. The Outdoor Industry Association’s 2024 Outdoor Participation Trends Report estimates that about 61 million Americans hiked in 2023. That number describes participation, not what each hiker needs to carry. A day hike may call for water, food, a shell, and a first-aid kit; an overnight adds shelter, sleep gear, and spare layers.
Trip length is a useful starting point, not a sizing rule. A 15–30-liter pack often suits day hikes; one night may need 35–50 liters, and several self-supported days may need 50–70. Bulky winter layers or shared cooking gear can change those estimates quickly. These ranges are rough. Lay out your actual gear, then load the bag and walk with it. Test it loaded. Check that the weight sits close to your back and the hip belt rests on your hips. Fit beats volume.
Match features to your trekking style. A rain-prone route may call for a liner or pack cover; scrambling favors a stable, close-fitting load. Hut trips can require less sleep gear than camping trips. Avoid buying extra capacity for every “just in case” item. Still, neat packing plans can fail: a cold forecast or an unexpectedly bulky sleeping bag can change the fit. Recheck your kit before deciding.
| Trekking Style | Typical Trip Length | Suggested Capacity | Typical Gear Requirements | Features to Prioritize | Important Considerations |
|---|---|---|---|---|---|
| Day hiking | A few hours to one day | 15–25 L | Water, food, extra layer, rain shell, first-aid kit, navigation essentials | Comfortable shoulder straps, breathable back panel, water-bottle pockets, easy-access compartments | Choose a smaller pack if your route is short and conditions are mild. Allow extra space for cold-weather layers or camera gear. |
| Fast-and-light trekking | One to several days, with lightweight gear | 30–50 L | Compact shelter, sleeping system, food, water treatment, clothing layers, safety equipment | Low overall weight, secure compression straps, simple pocket layout, supportive hip belt | Capacity depends heavily on how compact your shelter and sleeping gear are. Test the pack with your full kit before setting out. |
| Overnight trekking | One night | 30–45 L | Shelter, sleeping bag, sleeping pad, meals, water, spare clothing, cooking equipment | Adjustable torso fit, padded hip belt, sleeping-bag compartment, external attachment points | Bulky or cold-weather equipment may require more volume than a lightweight summer setup. |
| Weekend backpacking | Two to three nights | 40–55 L | Multi-night food supply, shelter, sleep system, clothing, water system, cooking kit | Well-fitted load-bearing hip belt, adjustable suspension, load lifters, practical access to packed gear | Food and fuel add weight and volume. Pack dense items close to your back and keep frequently used items accessible. |
| Extended or self-supported trekking | Four or more nights | 50–70 L | Additional food, spare layers, repair kit, shelter and sleep system, navigation and emergency supplies | Stable frame, supportive hip belt, durable fabric, compression straps, dependable adjustment system | A larger pack is useful when carrying more supplies, but avoid filling unused space with unnecessary items. |
| Cold-weather or remote trekking | One day to multiple days, depending on route | Typically 45–70 L | Insulating layers, weather-resistant shelter, warm sleep system, extra food, emergency equipment | Room for bulky layers, secure external attachment points, durable construction, comfortable support under heavier loads | Snow, low temperatures, and limited resupply can increase both pack volume and carried weight. Match capacity to the actual equipment list. |
| Hut-to-hut trekking | One or more days, with accommodation along the route | 20–40 L | Water, meals or snacks, spare clothing, rain gear, personal items, basic safety kit | Lightweight design, comfortable fit, accessible pockets, rain protection | Without a tent or full sleep system, many hikers can use a smaller pack. Confirm what accommodation provides before choosing capacity. |
Selection tip: Capacity is a guide, not a fixed rule. Choose a pack that fits your torso and carries your complete gear list comfortably; your equipment volume, season, resupply options, and personal packing style all matter.